Make crashed witch in school
- Choose a place to nail the witch, a wall, a door, a tree or a pole.
Begin to make your witch!
- First you need legs, and a pair of striped tights or long socks work great!

- Stuff the feet with paper or old fabric and
- insert two pieces of wood of equal length.
- Add shoes. Preferably laced shoes so you can tie them tightly to the ankles.
- Make sure your legs are of equal length – then nail them to the tree.
- Using a pair of rubber gloves, stuff the fingers to make the hands look realistic.
- Then attach them to two more lengths of wood, using rubber bands.
- Insert the wood with the hands attached into the sleeves of a shirt or sweatshirt
- best to do it wood stick first from the wrist to the back with the hand going into the sleeve last.
- Nail the “arms” to the tree.
- We added a cape but you can use a black trash bag for her cloak.
- Above that attach a wig or lengths of yarn for her hair.
- And on top of that – nail a black witch’s hat to the tree.
- Finally – attach a broom to the back of the witch.
- You can find brooms cheaply at craft stores and in some supermarkets
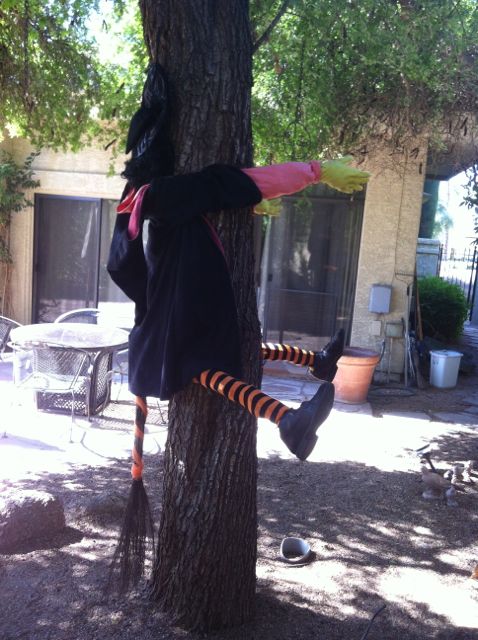
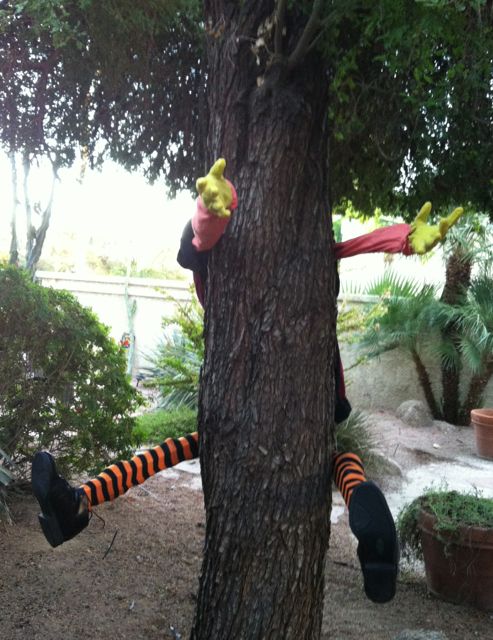
And there you have it – a crashed witch.
Viewed from either the back or front, it’s very funny.
Tomorrow – a wonderful wizard ornament!