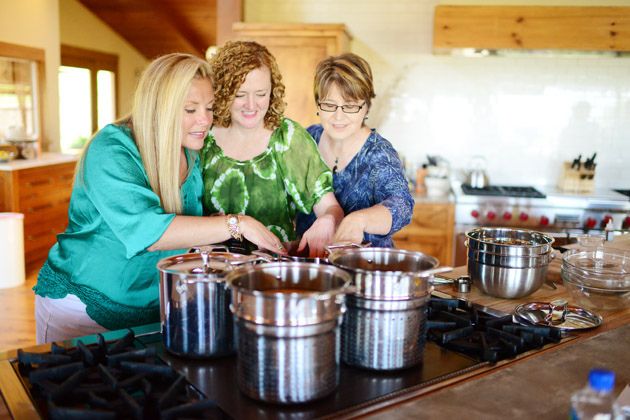
My foodblogging friends and I had so much fun making cheese together Saturday. Cheese unites people!
Making mozzarella at home seems very intimidating, but if you have two or three specific products, you really wouldn’t believe how easy it is. And once you give it a try, you’ll want to make mozzarella like crazy for everything from appetizers to pizzas to panini to…well, to just slicing off chunks and scarfing it down.
(That final item would apply to me.)
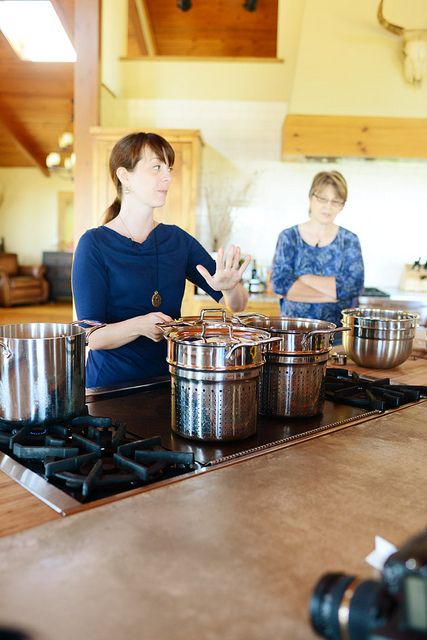
Rebecca from Foodie With Family was our fearless leader Saturday. She’s a mozzarella makin’ mama of five boys and is such a wonderful girl. We made mozzarella, homemade bread, pepper jam…and we ate a lot. The instructions to follow are from Rebecca’s mozzarella demo. I’m just the messenger.
The Mozzarella Messenger.
I see a comic book series in my future.
Note: Mozzarella method created by Ricki Carroll.
WHAT YOU’LL NEED
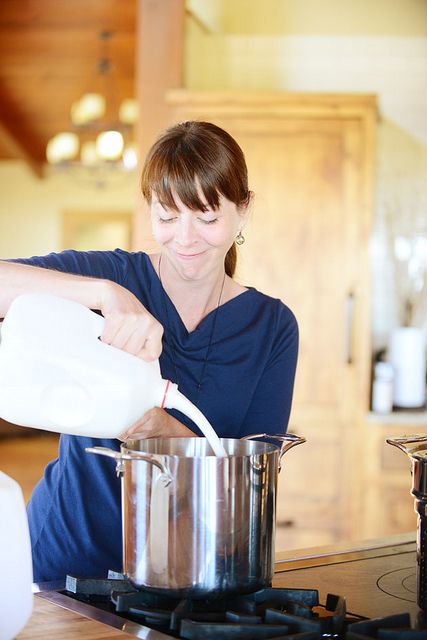
A gallon of whole milk. We were able to get raw (unpasteurized) milk at a local dairy in Claremore, Oklahoma, but procuring raw milk commercially can be difficult in some states. Pasteurized milk does work, it just doesn’t come together smoothly and perfectly like raw milk does. Raw/fresh milk mozzarella is definitely more smooth and delicious, but if you’re pregnant or immunocompromised or otherwise need to avoid raw milk, go ahead and use the pasteurized stuff.
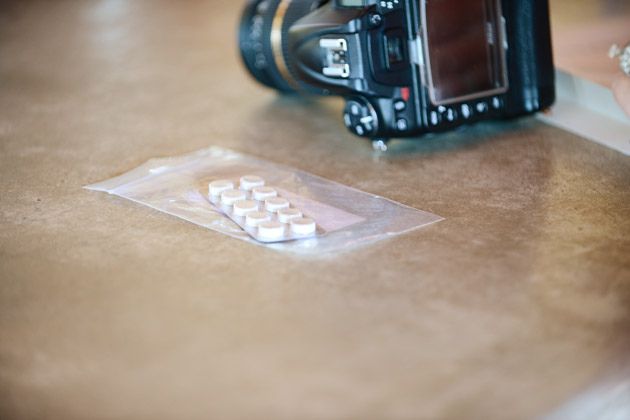
1 1/2 teaspoons of citric acid powder. This can be in the form of loose powder or tablets like these.
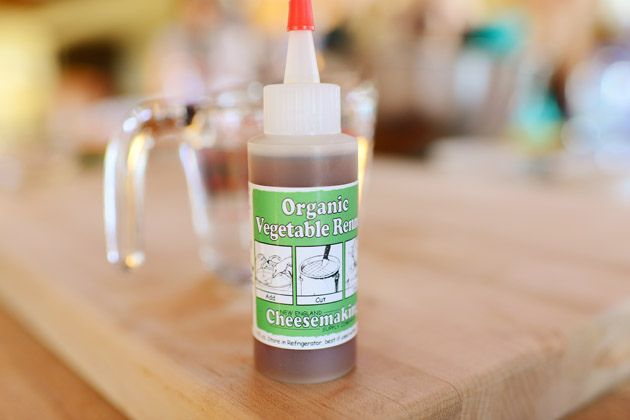
1/4 teaspoon liquid vegetable rennet combined with 1 cup of water. You can also use 1/4 of a vegetable rennet tablet; just crush it and dissolve it in a cup of water.
And 1 to 2 teaspoons of kosher salt, according to taste.
HOW TO MAKE IT
1. Sprinkle the citric acid powder (crush tablets if using) into a cool, empty, large non-reactive stockpot. Pour 1/4 cup water over it and stir it to dissolve.
2. Pour the milk into the citric acid solution and stir it to combine.
3. Put the pot over medium-low heat and heat it to 90 degrees (use an instant read thermometer.) You may notice the milk beginning to curdle, but this is a good thing!
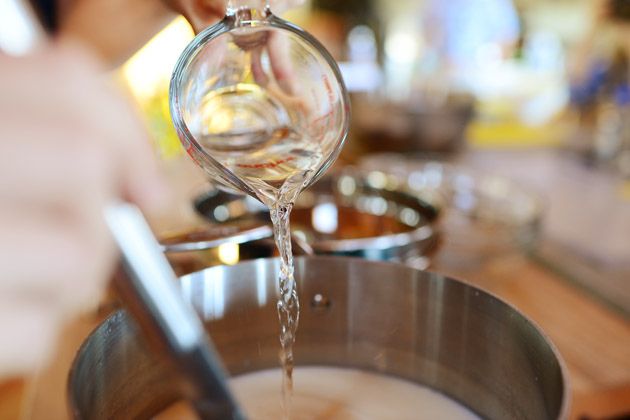
4. When the milk reaches 90 degrees, remove the pan from the burner and pour in the rennet mixed with water.
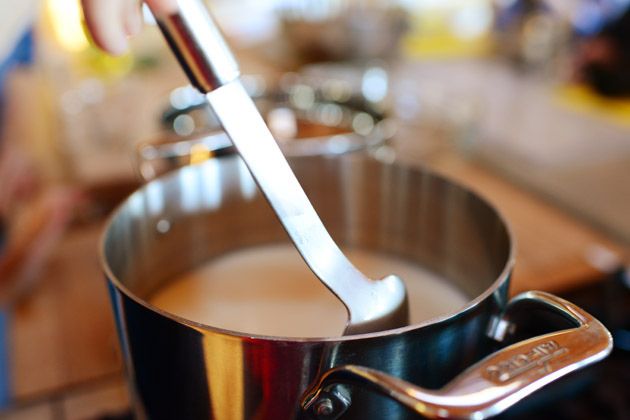
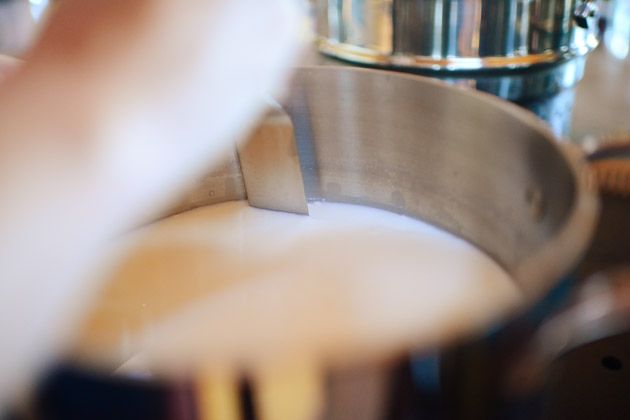
5. Stir the mixture with a gentle, circular up and down motion for about 30 seconds, then use the spoon to stop the motion of the milk so it will “be still.”
6. Place the lid on the pot and walk away and live your life for exactly five minutes. Don’t touch the pan!
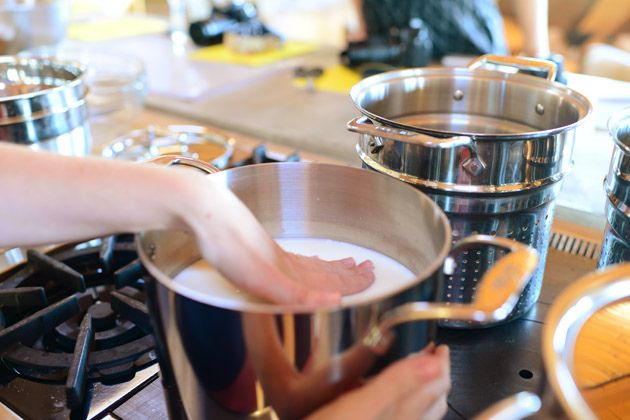
After five minutes, the mixture should resemble a very soft custard.
It really was fun to stick our (very clean; don’t worry) hands in there and feel the consistency. A lot happened in those five minutes! It definitely firms up in a mass, but is still very, very delicate and loose.
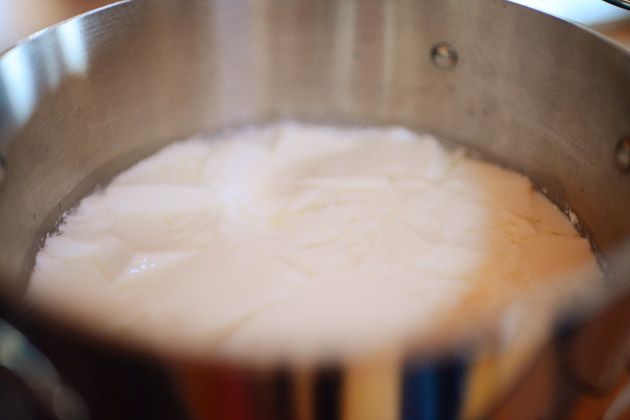
7. With a spatula long enough to reach the bottom of the pot (we used an offset spatula), cut the curd into a 1-inch checkerboard pattern, making lines across, then lines in the other direction.
It was at this time that an array of “cut the cheese” jokes broke out among all of us very mature women.
I’m still laughing.
8. Return the pot to the the burner over medium heat and stir it gently until the temperature of the whey (the liquid that separates from the curd) reaches 105 degrees.
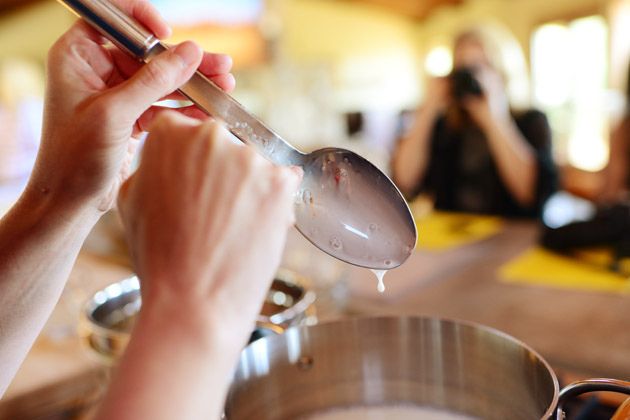
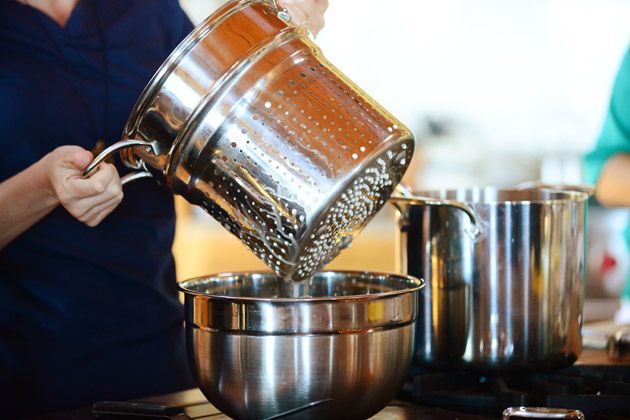
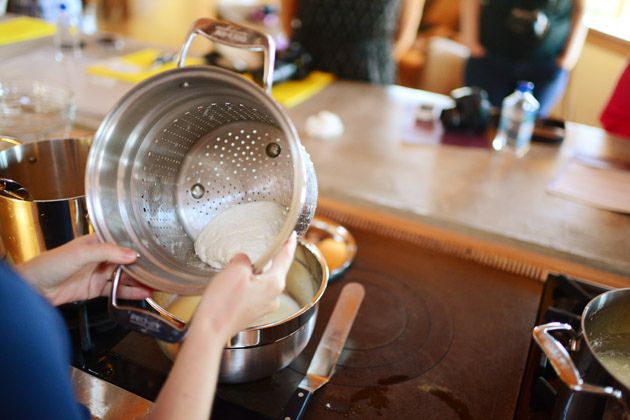
9. Use a slotted spoon to transfer the curd to a colander set over a bowl.
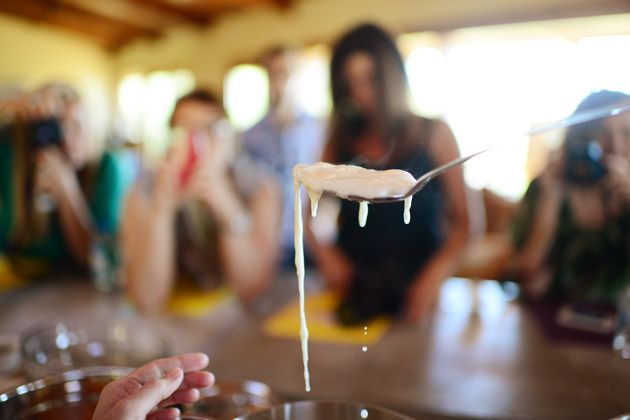
And yum! I sneaked a bite. It was so darn delicious. Stringy and fresh and delightful.
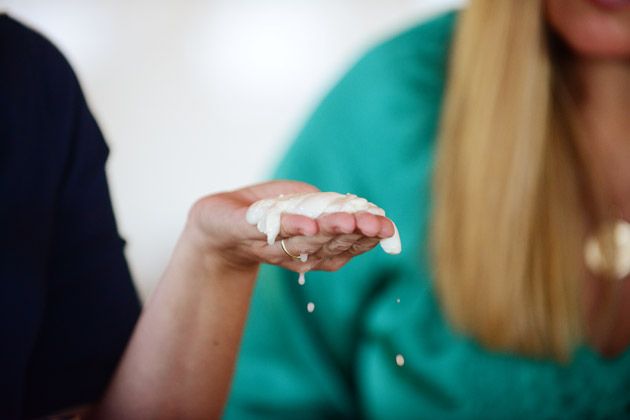
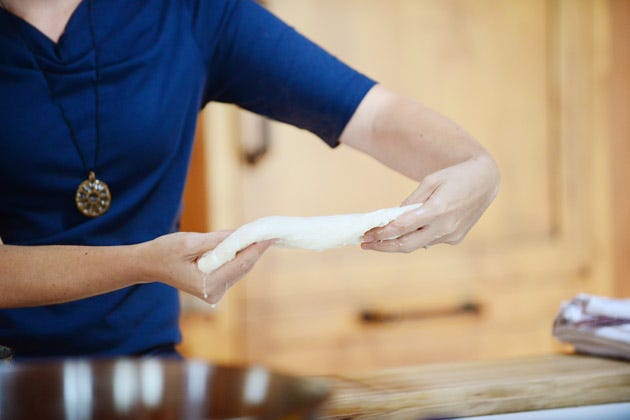
Everyone was fascinated with the texture.
And it all begs the question: Who in the world first figured out this process?
It’s a brilliant, beautiful thing.
10. Slowly spin around the colander to allow the whey to drain from the curd.
That’s mozzarella in there!
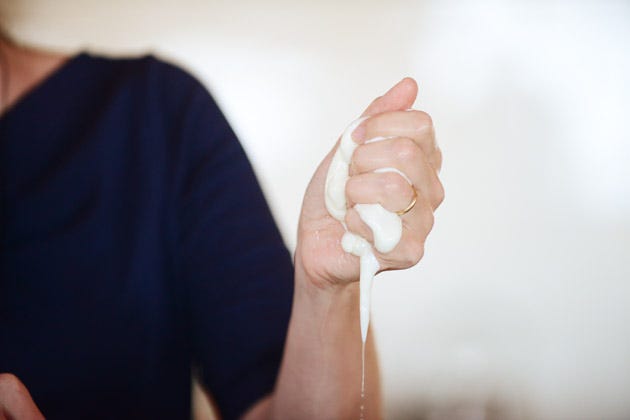
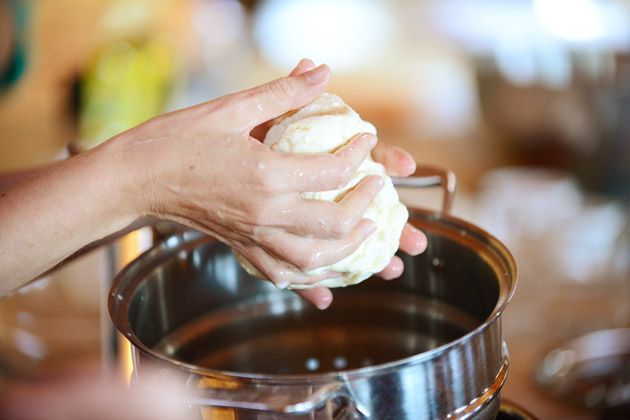
11. Remove the cheese and gently squeeze it a few times to drain off more excess whey.
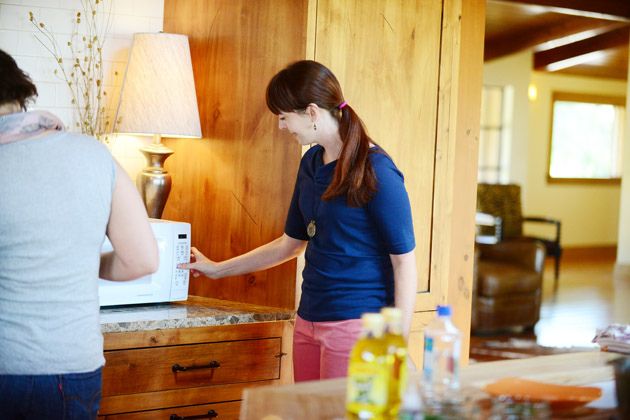
12. Then transfer the cheese to a microwave-save bowl and microwave the curd on high for 1 minute.
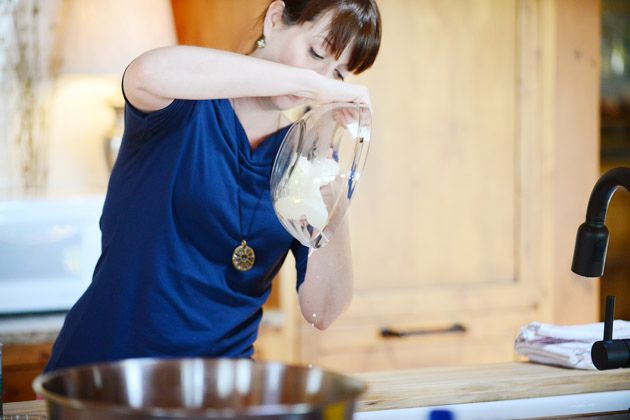
13. Remove the bowl from the microwave and pour off as much whey as you can.
By the “whey” (har har har) you can reserve all the excess whey and use it to make bread (as Rebecca did) or add it to beverages to make them higher in protein!
14. Press the curd together with your hands and again drain off the whey that comes out.
15. Microwave it again on high for 35 seconds, the press the curd together again to drain the whey.
Have you gotten the picture that you want to drain off as much whey as you can?
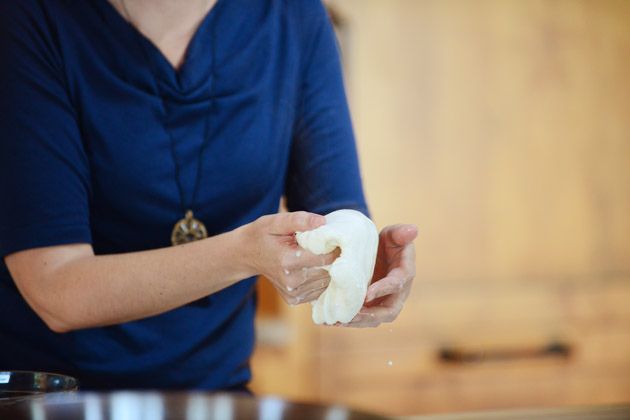
16. Knead and stretch the curd a bit to drain more whey, then microwave it one last time for 35 seconds.
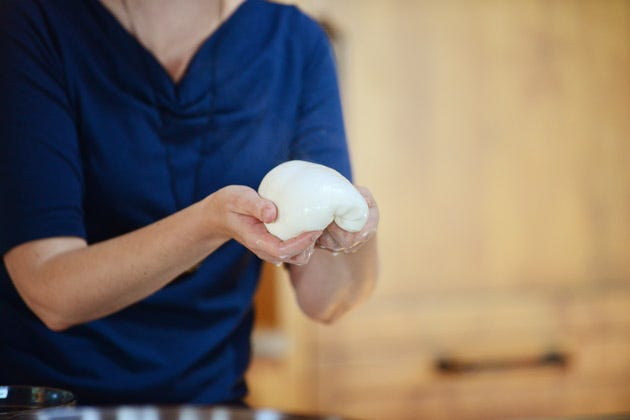
17. Knead in the salt and roll it under itself until it forms a neat ball.
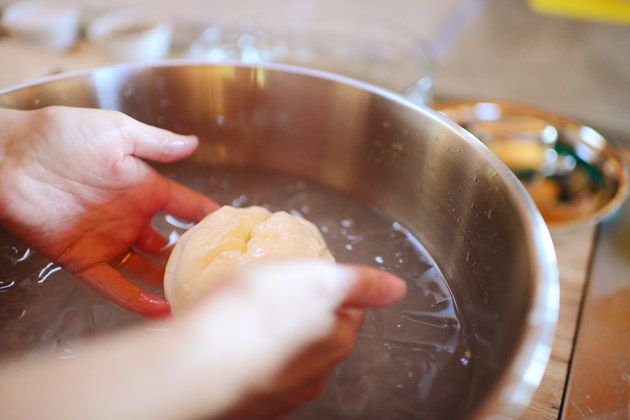
18. Then set the ball into an ice water bath and let it rest in there until totally cool.
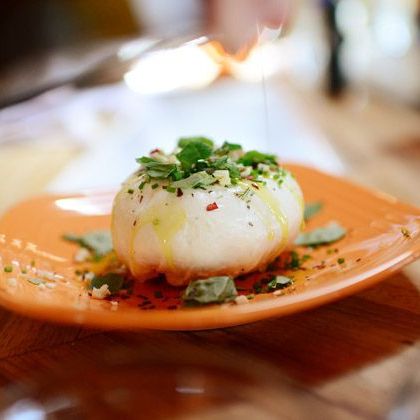
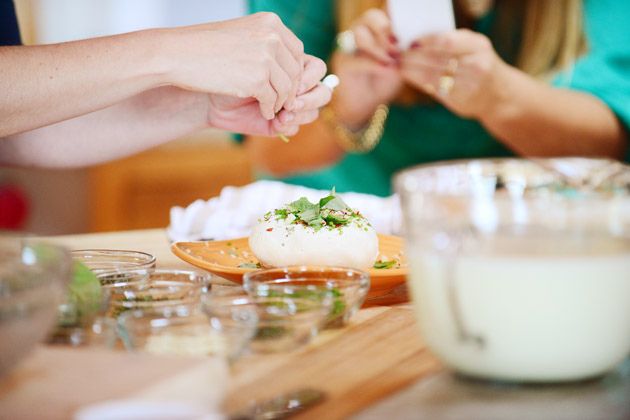
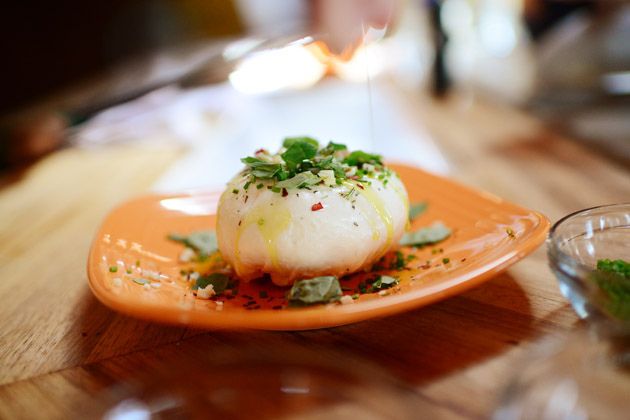
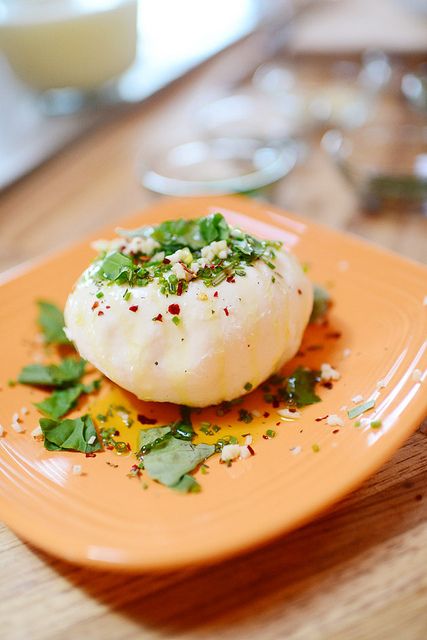
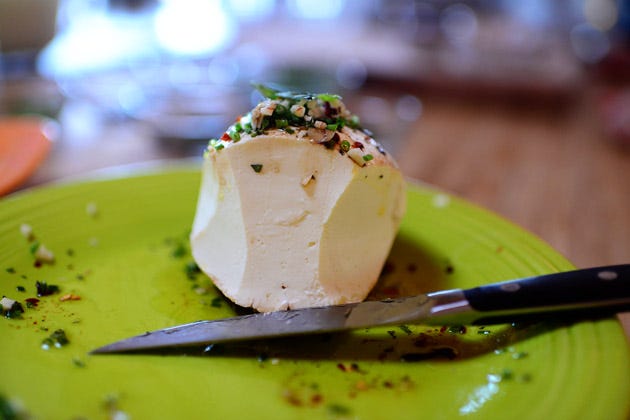
Then it’s ready to eat! Rebecca set it on a plate and sprinkled a million different herbs, as well as salt, pepper, and crushed red pepper over the top.
(See that measuring pitcher full of liquid? That’s the whey! Be sure to save it. It’s good stuff.)
Then came the olive oil and (later) the balsamic.
Then came the bliss. Oh. My. Goodness.
It was gone within minutes!
Then we made another one and it was gone within seconds!
Oh, and here’s a neat variation.
(Hi, Shari! I see your hands!)
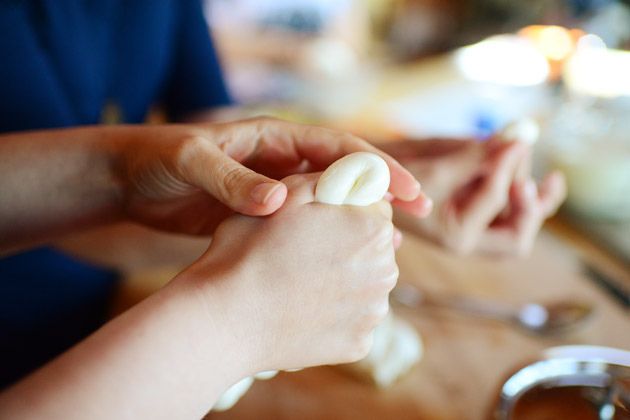
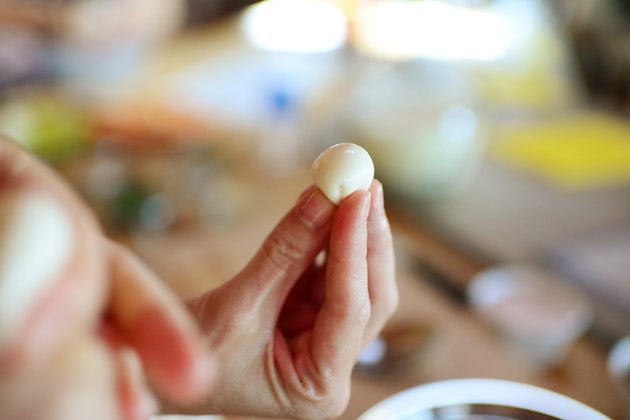
Bocconcini! Just squeeze them in between your thumb and forefinger and drop them into ice water as you go.
Now go forth and make fresh mozzarella! It’s truly delicious and so much fun.
Thanks, Rebecca, for your awesome tutorial!
Note: It’s best to eat the mozzarella within a day, or it can be kept in a brine (salt water) for up to a week.
Note: You can get citric acid tablets and liquid vegetable rennet on Amazon or in many different places.
Not: Regarding the milk, check in your area to see if raw milk is available; if not, pasteurized milk works fine, too. It just won’t quite come together and have the wonderful, stringy texture as you’re making it; we made a pasteurized version and before we worked it together, it resembled ricotta cheese. But if you stick with it and knead, squeeze, knead…eventually it will come together and be really nice.
