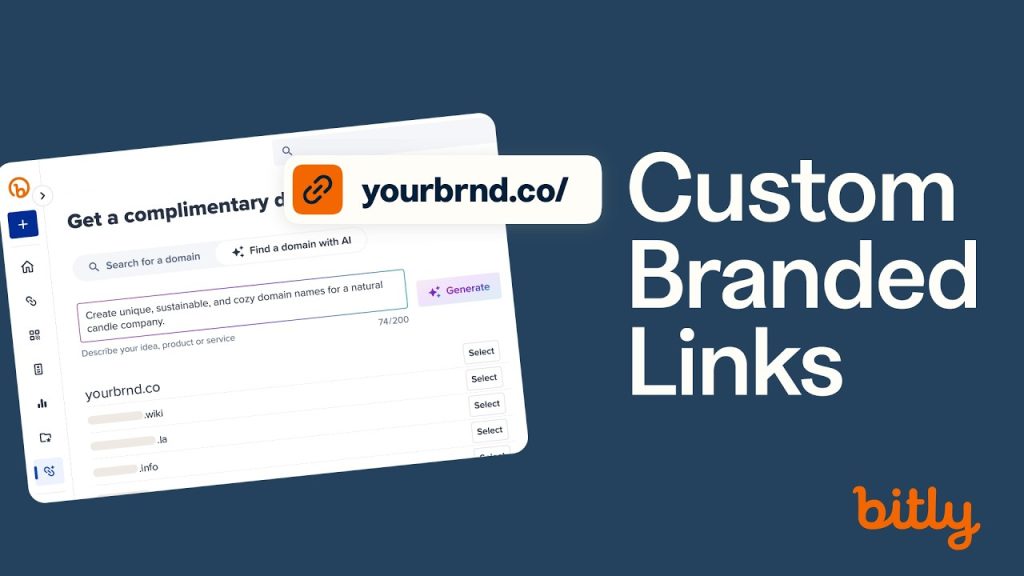

Learn how to create custom branded short links with Bitly by setting up your own custom domain. This tutorial shows you how to claim a domain, create branded links, and update destination URLs—all in minutes.
Chapters
- 0:00 Why use a custom domain for your short links
- 0:20 How to claim a custom domain in Bitly
- 1:03 Choosing the right custom domain for your brand
- 1:17 How long it takes to activate your custom domain
- 1:27 Creating your first branded short link
- 1:43 How to update a branded link’s destination URL
- 2:04 Next steps and getting help
Bitly Links with a custom domain replace the default bit.ly with a domain unique to your brand—so every short link you share reinforces your business name instead of Bitly’s. Setting up a custom domain in Bitly takes minutes: search for an available domain, claim it as part of a paid Bitly plan, and start creating branded short links right away. Custom domains are typically activated in well under 24 hours.
Once your custom domain is live, every Bitly Link you create works exactly the same as before—you can copy it, share it, track clicks with Bitly Analytics, and customize the back-half for a memorable call to action. One exclusive advantage of branded short links: you can update the destination URL at any time, even after the link has already been shared. So if you’ve distributed a link on social media and need to correct the destination, there’s no need to start over.
Custom short links are ideal for marketers, business owners, and creators who want every link they share to look professional, on-brand, and trustworthy.
- 🔗 Try Bitly for FREE:
- 👉https://bitly.is/Right4U